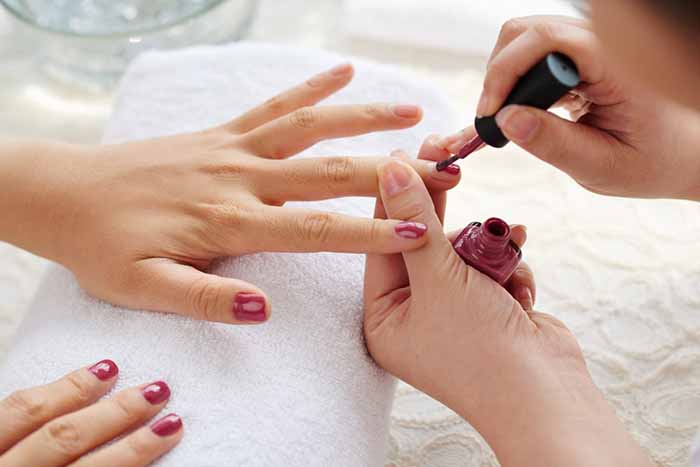
I remember the frustration of spending an hour on a manicure, only to have it chip within a day. I assumed it was the polish’s fault. But after years of trial and error, I realised the problem wasn’t the product—it was my technique.
Applying nail polish is more than just painting colour on your nails. It is a precise process that, when done correctly, results in a smooth, long-lasting finish. When done incorrectly, it leads to streaks, bubbles, chips, and peeling.
Here is everything I have learned about applying nail polish professionally, from the tools you need to the steps that make a difference.
The Consequences of Poor Application
Poor application is not just about aesthetics—it affects the longevity of your manicure.
Uneven streaks and brush marks. These are caused by applying too much polish or using incorrect brush pressure. The finish looks amateur and uneven.
Bubbles. Bubbles occur when polish is shaken (instead of rolled), applied too thickly, or when layers are rushed before drying. They create an uneven, bumpy surface.
Chipping within days. When the free edge is not sealed, water seeps underneath and causes the polish to lift and chip.
Peeling. Thick coats of polish are more prone to peeling. The layers do not dry evenly, and the top layer separates from the bottom layer.
Staining. Skipping base coat allows pigments from dark polishes to penetrate the nail plate, leaving a yellow or orange tint that can take weeks to grow out.
Flooded cuticles. Polish that touches the skin around the nail creates a physical barrier that prevents adhesion, causing the polish to lift and peel.
Bald spots. Areas where the polish is too thin or missing. This is often caused by rushing or using too little product.
Essential Tools for a Professional Finish
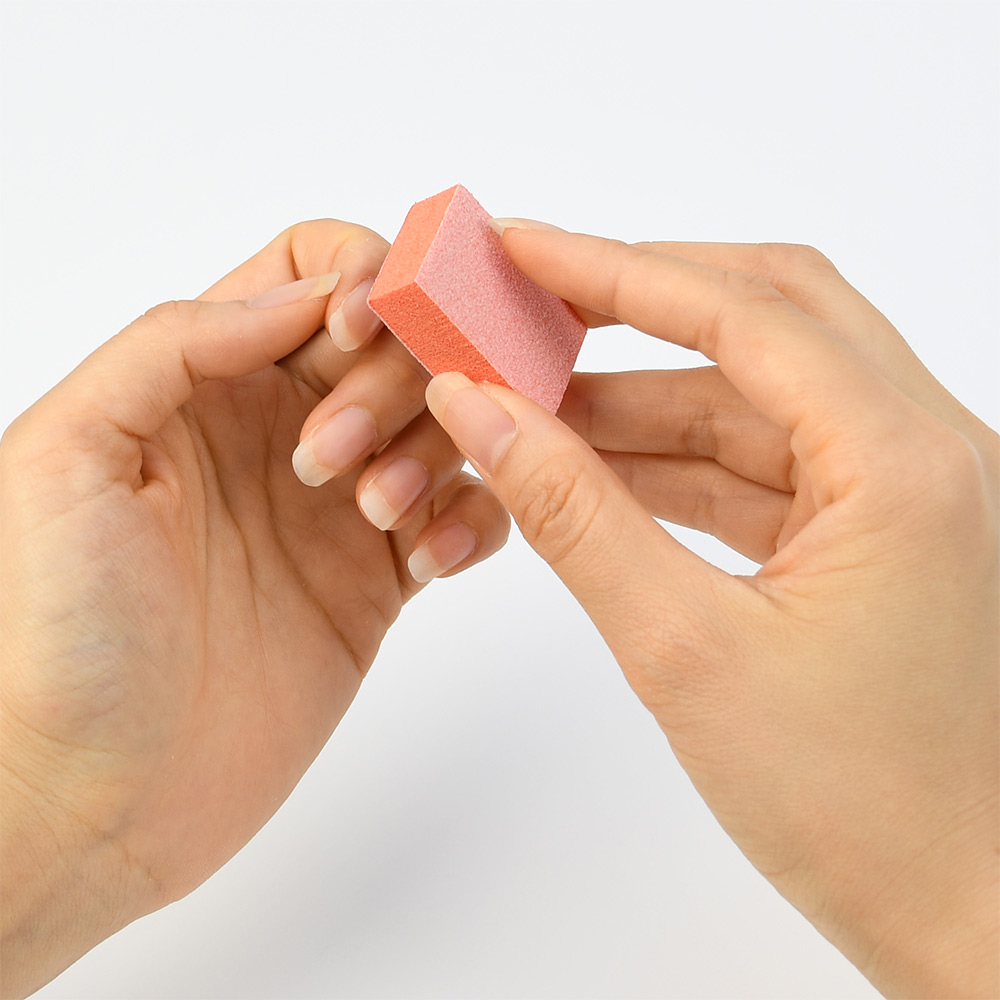
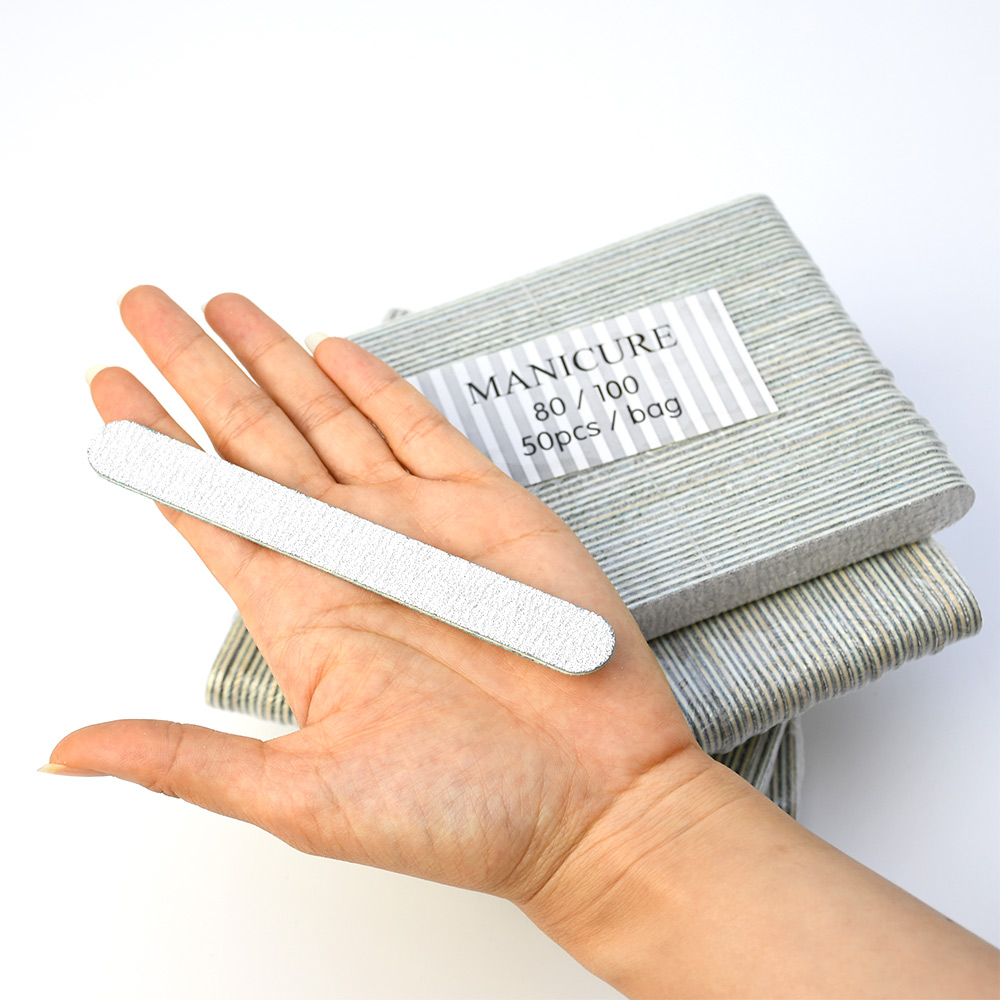
Nail file and buffer. For shaping and smoothing the nail surface.
Cuticle pusher. For gently pushing back cuticles.
Lint-free wipes. For cleaning the nail surface without leaving fibres.
Rubbing alcohol or nail dehydrator. For removing oils and dust.
Base coat. Non-negotiable. Prevents staining and helps polish adhere.
Nail polish. Choose a high-quality polish with a smooth, fluid consistency.
Top coat. Seals the colour, adds shine, and extends wear.
Cleanup brush. A small angled brush dipped in remover for perfecting edges.
Quick-dry drops (optional). For speeding up drying time.
Pre-Application Preparation
Proper preparation is the foundation of a long-lasting manicure.
Step 1: Remove old polish. Use a gentle remover to take off any existing polish. Pay attention to edges and corners.
Step 2: Shape your nails. Use a nail file to file your nails to your desired length and shape. Always file in one direction—never saw back and forth.
Step 3: Push back cuticles. Soak your hands in warm water for a few minutes, then gently push back cuticles with a wooden stick. Never cut living cuticle.
Step 4: Buff lightly. Use a fine buffer to remove shine and smooth ridges. Two or three gentle passes are enough. Do not over-buff.
Step 5: Cleanse. Wipe each nail with rubbing alcohol on a lint-free wipe. This removes oils, dust, and residue. After this step, do not touch your nails.
Step-by-Step Professional Polish Application
Step 1: Apply base coat. Start with a thin, even layer of base coat. Cap the free edge—run the brush along the nail tip—to seal it. Let it dry for 1-2 minutes.
Step 2: Apply the first colour coat. Wipe one side of the brush against the bottle neck to remove excess polish. Place the brush at the centre of your nail, just above the cuticle. Push gently toward the cuticle (without touching it), then pull the brush smoothly toward the tip. Repeat on each side of the nail. The first coat may look streaky—this is normal.
Step 3: Apply the second colour coat. Once the first coat is dry to the touch, apply a second thin coat using the same technique. This coat should give you even, opaque coverage. If needed, a third thin coat can be applied.
Step 4: Cap the free edge. With every layer—base, colour, and top coat—run the brush along the nail tip to seal it. This prevents water from seeping underneath and causing chips.
Step 5: Apply top coat. Apply a generous layer of top coat to seal the colour, add shine, and extend wear. Cap the free edge again.
Step 6: Clean up. Use a small brush dipped in remover to clean any polish that has strayed onto your skin or cuticles.
Step 7: Hydrate. Once the polish is fully dry, apply cuticle oil to nourish the skin around your nails.
Post-Application Care
Apply cuticle oil daily. This keeps the skin around your nails hydrated and prevents lifting.
Wear gloves for wet work. Water and harsh chemicals weaken the polish and cause chipping.
Avoid using your nails as tools. Opening cans or peeling stickers puts pressure on the polish and causes chips.
Reapply top coat. A fresh layer of top coat every few days refreshes the shine and seals edges.
How to Extend the Life of Your Manicure
Prep thoroughly. Proper preparation is the foundation of a long-lasting manicure.
Apply thin layers. Thin coats dry faster, level out more evenly, and chip less.
Cap the free edge. Sealing the tip with every layer prevents water from seeping underneath.
Use a quality top coat. A good top coat extends the life of your manicure by days.
Apply cuticle oil daily. Hydrated nails are less likely to chip or peel.
Protect your nails. Wear gloves for wet work and avoid using your nails as tools.
Touch up chips. If a chip appears, file the edge smooth and apply a thin layer of top coat to seal it.
The Bottom Line
A professional-looking manicure is achievable with the right tools, a little patience, and attention to detail. Proper preparation, thin layers, capping the free edge, and consistent aftercare are the keys to a long-lasting, beautiful finish. With practice, you can achieve salon-quality results at home. Your nails will thank you.
Read also: Gel Nail Strips for Beginners: The Easiest Path to Salon-Quality Nails
One thought on “The Art of Applying Nail Polish: Techniques for a Professional, Long-Lasting Finish”