I remember my first attempt at a home gel manicure. I had the lamp, the base coat, the color, and the top coat. I followed the instructions carefully. The result was a lumpy, wrinkled mess. My cuticles were flooded, my edges were uneven, and the gel cured onto my skin. It took an hour of careful filing to undo the damage.
A friend handed me a pack of gel nail strips. “Try these,” she said. “No painting, no mess, no mistakes.”
She was right. Gel nail strips are the most beginner-friendly way to achieve a professional-looking gel manicure at home. Here is why they work so well for newcomers and how to get the most out of them.
Why Gel Nail Strips Are Perfect for Beginners
The biggest barrier for beginners is application. Painting a clean line, avoiding cuticles, and applying thin, even layers takes practice. Gel nail strips eliminate this challenge entirely. The design is pre-printed. The shape is pre-cut. You simply peel, stick, smooth, and cure. The result is a flawless, glossy finish that looks like it came from a salon, even if you have never painted your nails before.
Another advantage is the forgiving learning curve. If you place the strip slightly off-centre, you can reposition it before curing. If you have a wrinkle, you can smooth it out. If you choose the wrong size, you can trim the edges to fit. The material is flexible and forgiving, giving you time to get it right.
Gel nail strips also eliminate messy cleanup. There is no flooding of cuticles, no polish on skin, and no need to clean up with a brush and acetone. The strip is designed to fit the shape of your nail, so the edges are clean and precise from the start.
Real Advantages for New Users
Time savings are significant. A full set of gel nail strips can be applied in 10 to 15 minutes, compared to 45 minutes to an hour for traditional gel polish. There is no drying time, no waiting for layers to set, and no risk of smudging. The instant gratification is a huge confidence booster for beginners.
Consistency is another major advantage. With traditional polish, two thin coats are recommended, but beginners often apply thick, uneven layers that bubble and peel. Gel nail strips provide consistent thickness and coverage every time. The result is a smooth, even finish without the need for a steady hand.
Variety is built into the product. Designs are pre-printed, so beginners can enjoy intricate patterns—florals, marbling, glitter gradients, and geometric shapes—without any artistic skill. This opens up a world of creativity that would otherwise require years of practice.
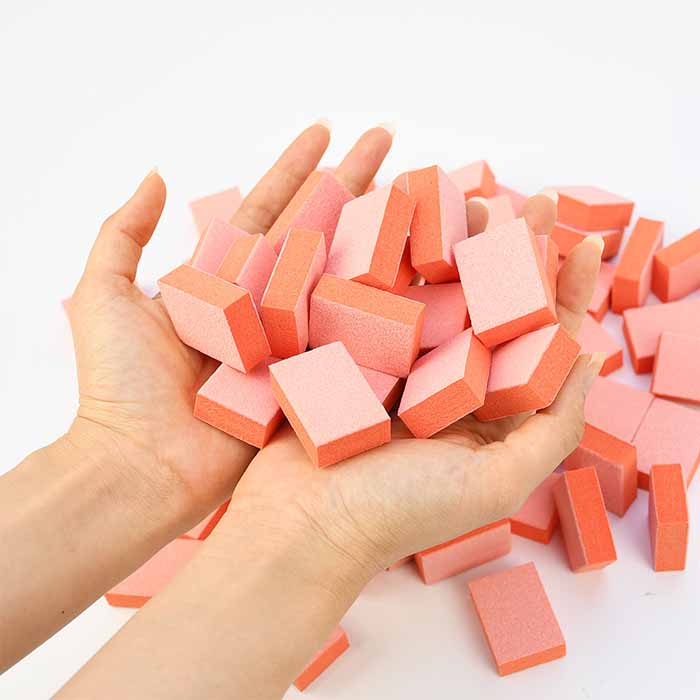
Gentle on natural nails. Unlike acrylics or hard gels that require filing of the natural nail, gel nail strips do not require aggressive surface preparation. You simply cleanse and lightly buff the nail with a fine buffer block. The removal process uses cuticle oil, not harsh filing or soaking in acetone, which is gentler on the natural nail plate.
Cost-effective. A single pack costs a fraction of a salon gel manicure and can be applied multiple times, making it a budget-friendly option for beginners who want to experiment with different styles without the commitment.
How Beginners Can Achieve a Perfect Application at Home
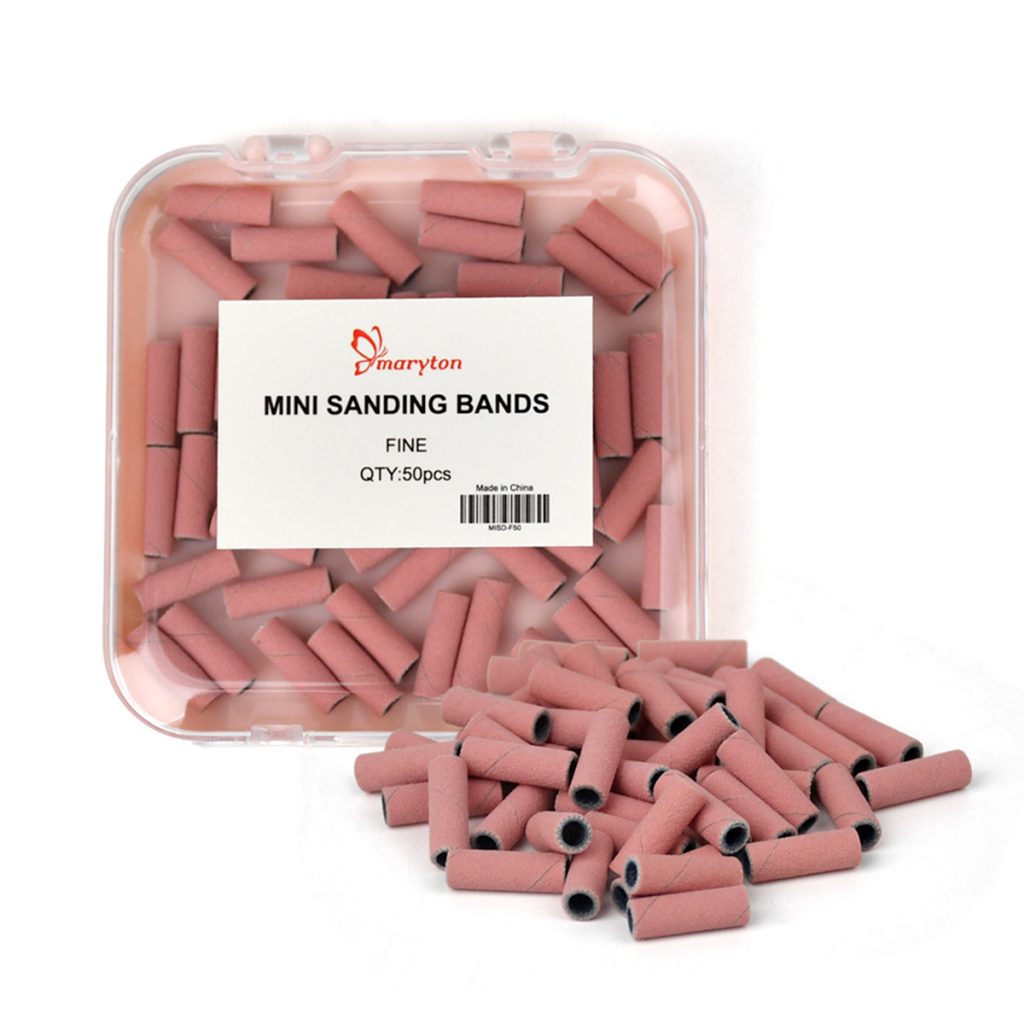
Step 1: Prep your nails. Start with clean, dry nails. Gently push back cuticles. Lightly buff the nail surface with a fine sanding band to remove shine—do not overdo it. Wipe each nail with an alcohol prep pad to remove oils and dust. Do not apply lotion or cuticle oil before this step. Oil is the enemy of adhesion.
Step 2: Choose the right size. Select a strip that is slightly smaller than your nail plate. If between sizes, choose the smaller one—you can stretch it gently during application. Avoid strips that overlap onto the skin, as this creates a lifting point.
Step 3: Apply the strip. Peel the strip from its backing. Align the rounded edge just above your cuticle and press down firmly from the center outward. Use a wooden stick to smooth out any air bubbles and press the edges securely. If you need to reposition, lift gently and adjust before curing.
Step 4: Trim and file. Fold the protruding part over the free edge of your nail or cut it off with small scissors. File downward in one direction to remove the excess and seal the edge. This prevents water from seeping underneath.
Step 5: Cure under a UV/LED lamp. Place your hand under the lamp and cure for 60–90 seconds, or follow the manufacturer’s instructions. The strip will harden into a durable, glossy gel layer. For extra longevity, apply a thin gel top coat and cure again.
Step 6: Clean and hydrate. Wipe away any sticky residue with a lint-free wipe and alcohol. Apply cuticle oil to moisturize.
Daily Maintenance Tips for Beginners
Apply cuticle oil daily. This keeps the skin around your nails flexible and prevents lifting. A hydrated cuticle is a healthy cuticle.
Wear gloves for wet work. Water and cleaning products weaken the adhesive. A simple pair of rubber gloves protects your manicure.
Avoid using your nails as tools. No opening cans, peeling stickers, or scraping with your nails. This is good practice for all manicures, but especially important for gel strips, which can lift if stressed.
Keep edges sealed. If you notice a small lifted area, apply a thin layer of top coat and press the edge down. Catching lifting early prevents it from spreading.
Give your nails a break between applications. After removing a set, wait a day or two before applying a new one. This gives the natural nail time to recover and rehydrate.
The Bottom Line
Gel nail strips are the perfect entry point for beginners. They eliminate the need for steady hands, endless practice, and messy cleanups. They offer salon-quality results in minutes, with consistent thickness and professional designs that would be difficult to achieve by hand. With proper prep, careful application, and a few simple maintenance habits, you can enjoy beautiful, long-lasting nails without the stress.